A mailer box dieline is the flat structural drawing used to identify cut edges, crease lines and the panels that form the box. The right file depends on the box structure, board specification and fit of the packed contents. Three dimensions alone do not describe every fold, locking tab or allowance.
Start with the product and label your dimensions
Measure everything that will be packed together, including accessories, protective wrapping and any insert. Say whether the measurements describe the product, the usable inside of the box, or the outside of a finished box. Send a photo or sketch showing which edges you measured.
ILLUSTRATIVE MEASUREMENT EXAMPLE
300 × 200 × 80 mm — what do the numbers mean?
If these are proposed internal box dimensions, they describe the intended usable space. They are not the dimensions of the flat dieline or a measured specification of the photographed samples below.
Confirm the measurement convention on the drawing. Board thickness, folds, the insert and product clearance need a structural review and fitted sample.
For the broader sizing and freight discussion, see the mailer box size guide. Shipping dimensions should come from the approved packing arrangement.
How to read a mailer box dieline
Check the drawing's own legend. Line colours and layer names vary between suppliers and design software; colour alone is not a production instruction.
Cut line
Identifies an edge to cut, including openings or slots shown in the approved design.
Crease / fold line
Identifies where the board is intended to fold. Check the crease specification with the supplier.
Artwork guides
Bleed and safe-area guides help position artwork. Use the offsets supplied for the final structure and print process.
The line samples above are an explanatory legend, not a cutting template. A production drawing needs a confirmed scale, units, board specification, revision and approval.
A generated dieline example
This reference was generated with Packmage model E005D using an entered internal size of 300 × 200 × 80 mm. The software's selected board setting was 350 g white card at 0.46 mm thickness. It illustrates the relationship between a structural drawing and the size brief; the board setting is not a recommendation for your shipping application.
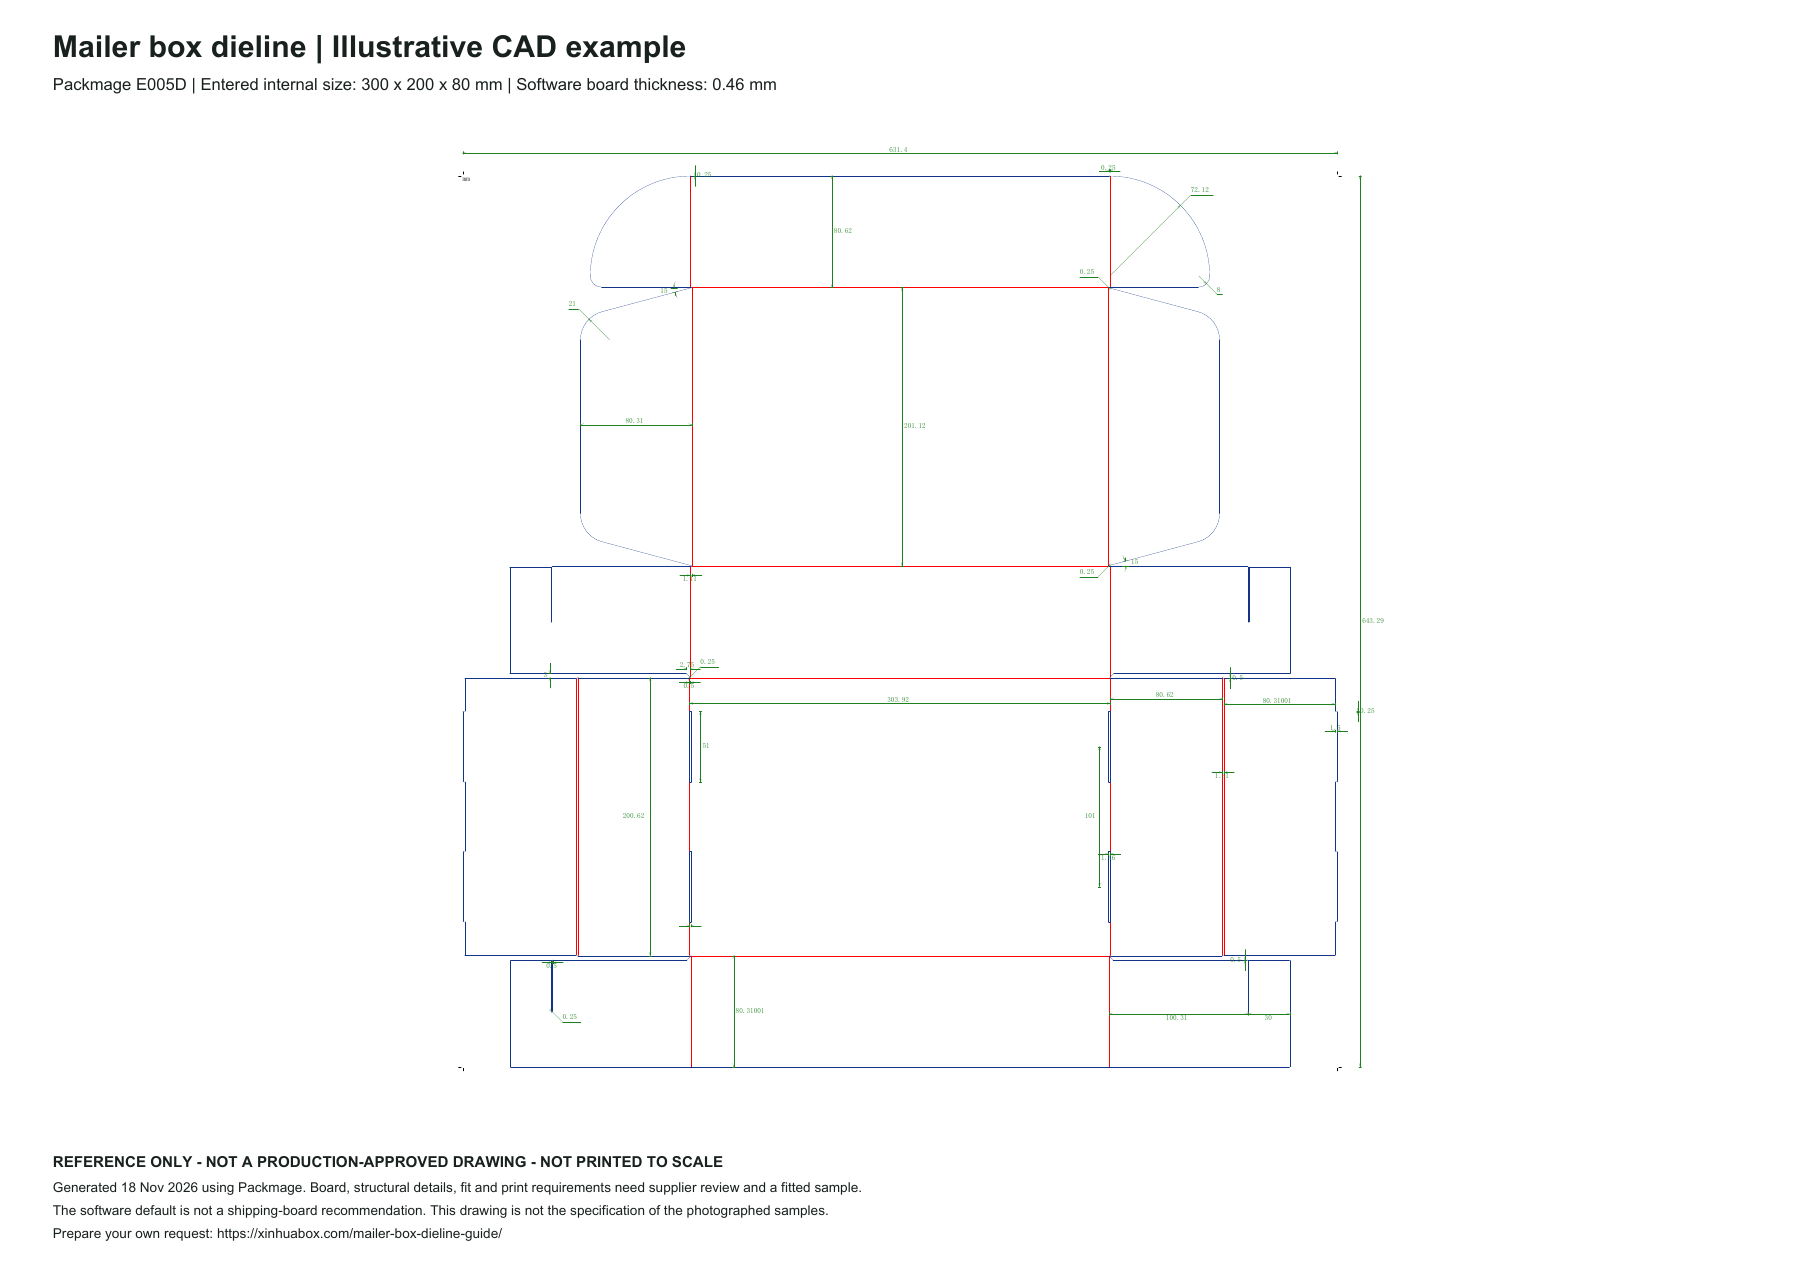
Download the annotated example PDF →
Use this to discuss a structure with your supplier. Your production drawing needs its own confirmed board, dimensions and fit review. The example is not the specification of the photographed samples shown below.
Set the structure before placing final artwork
- Confirm the assembled box. Review the opening direction, locking tabs, product fit and any insert.
- Confirm the dieline version. Ask for the units, scale, board specification and revision identifier.
- Map the visible panels. Identify the top, front, sides and inside print areas before positioning the logo and text.
- Follow the supplied bleed and safe areas. Keep important text and graphics clear of folds, slots and cut edges as directed on the approved template.
- Review the folded proof and physical sample. Check artwork orientation, readability, closure and product removal before bulk approval.
Keep structural guides separate from printable artwork and confirm the export format with the supplier. Do not enlarge a finished dieline proportionally to create a different box size: board allowances and locking details need to be recalculated for the new structure.
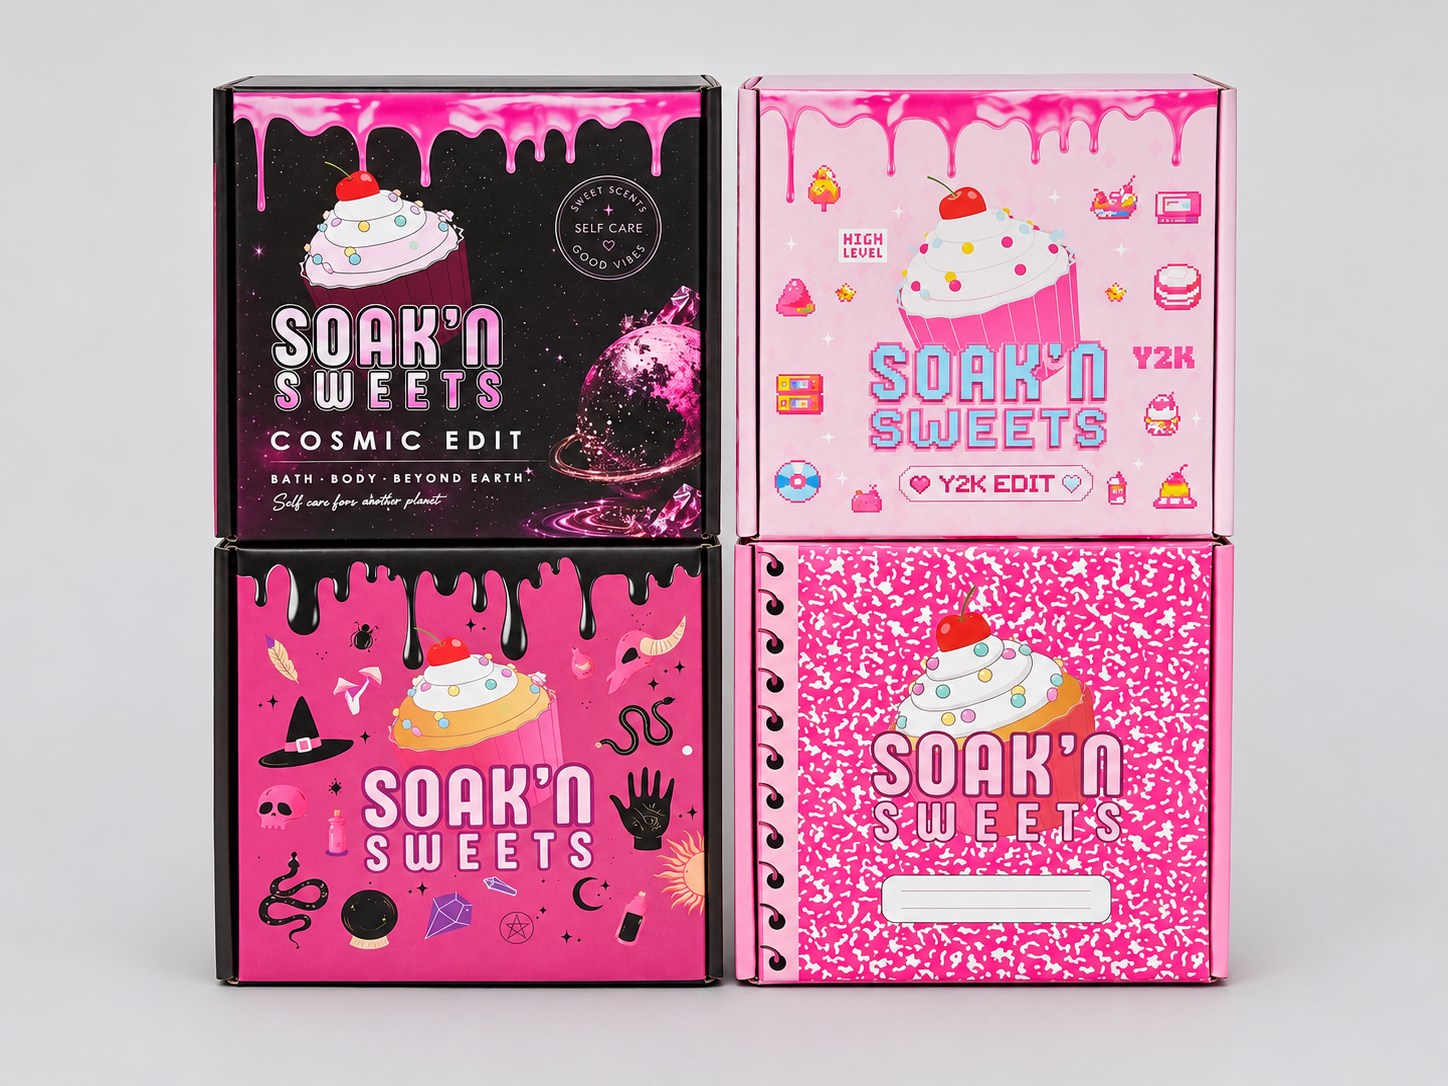
See the four artwork directions in this sample series for more on coordinating the exterior design.
What changes a custom mailer box quotation?
A useful estimate describes the assumptions behind it. Send the same specification when comparing quotations, and ask the supplier to identify any items that remain provisional.
| Information | What to clarify |
|---|---|
| Dimensions and packed contents | Units, measurement basis, product layout, packed weight and insert requirement. |
| Quantity and versions | Units per artwork version; whether you want alternative quantity quotations. |
| Board and print | Requested board specification, print coverage inside and outside, and finish. If undecided, ask for a recommendation. |
| Sample and tooling | What sample is included, any tooling or setup charges, and the approval steps. |
| Delivery scope | Destination and postcode, flat or assembled packing, currency, freight, taxes and applicable delivery terms. |
An initial estimate should be confirmed against the approved specification and delivery scope. The brief builder below prepares your request; pricing and the production dieline follow review by our team.
Common questions before requesting a dieline
Can I use a template with the same length, width and height?
Use it as a reference only until the structure and board have been checked. Matching nominal dimensions do not establish matching tabs, folds, clearances or product fit.
Can I get a quote before the artwork is finished?
You can request an initial estimate by describing the intended print coverage and finish. State what is still undecided so the estimate can identify its assumptions.
What if I do not know the board or box size?
Send the product measurements, packed weight, quantity, delivery route and a photo of the intended layout. Mark the board or box size as undecided instead of guessing a production specification.
PREPARE A CLEAR REQUEST
Build your mailer box brief
Choose what you know. Optional measurements can stay blank. You can save the brief or add it to the quote request below.
Your brief
The brief is also added to the editable request below. Preparing or downloading it does not send an enquiry.
Request a custom dieline & quote review
Tell us about your mailer project. Our team will review the specification and confirm the next steps for the drawing, sample and quotation.
Prefer email? sales01@xinhuabox.com
Continue with custom mailer boxes or the MOQ and lead-time guide.